


Portrait Warping Techniques to Improve Facial Appearance
1. Import the image into the Photoshop.
2. Going to menu Filter-> CPAC ImagingPro- PlugIn->Portrait Warping…
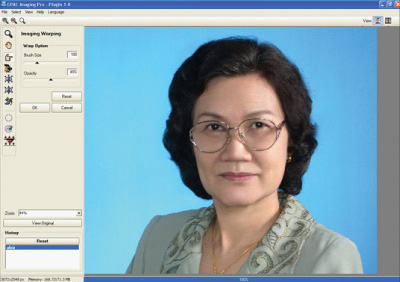
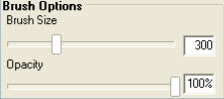
3. You can warp the face area using the Warp tool.  The warp tool icon is on the top of the toolbar pane. Select this icon, move the mouse pointer to the spot you want to adjust. Hold down the left mouse button, and move the pointer in the direction you want to pull to. You will see that the selected area is pulled in the same direction as the pointer. The pull radius corresponds to the Brush Size,while pull tension corresponds to Opacity.
This tool is suitable to adjust facial structure, even to produce a slight smile.
4. You can make the face look leaner by using the Slimming tool.  Unlike the Warp tool, Slimming tool changes the structure uniformly. First, select the tool from the toolbar in the left. Move the mouse pointer to face edge.

As a result, the face will look leaner or fuller. Upon to your direction.
5. You can adjust the eye size, as well as other facial elements, to become bigger or smaller by using the Shrink tool  and Grow tool.
  and Grow tool. Shrink or Grow tool. Adjust the brush size and move it over to the area you want to adjust. Left click one time for an adjustment. If you hold the left mouse button down, the adjustment will be made continually until you let go of the mouse button.
6. If you want to undo the edited areas, you can do so using the History Brush tool.  Apply the brush to the area, and the selected area will go back to the original condition.
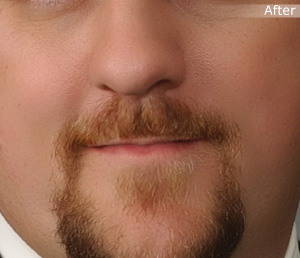
7. You can close the slightly open mouth by using these tools.

Use the Mouth Select tool  and apply it to the entire open mouth gap, including lip corners and teeth.
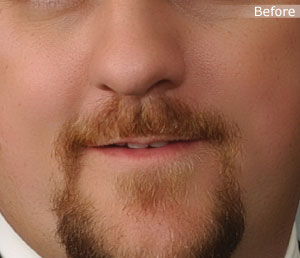
You can use the Erase Select tool  to edit the mouth gap selection. When finished, click the Shut Up button, the program will automatically close the gap.
8. To undo all editing, click the Reset button.
9. When you have made all the desireble adjustments, click OK to complete the portrait warping process and send image to photoshop.

Click to Protrait Retouching Function Page | Click to top site